Tuesday, August 30, 2011

Slow Cooker Minestrone


I love soup but I don't always have the time to make it. This slow cooker recipe is perfect for a busy day!

Ingredients:

·                     1/2 onion, chopped
·                     1 cup carrots, chopped
·                     1 celery stalk, chopped
·                     2 garlic cloves, minced
·                     1 (28 oz) can diced tomatoes
·                     1 (15 oz) can garbanzo or kidney beans, drained, rinsed 
·                     3 cups fat free chicken broth (or vegetable broth for vegetarians)
·                     1 oz chunk of good Parmesan cheese rind
·                     2 bay leaves
·                     2 tbsp chopped fresh basil
·                     1/4 cup chopped fresh Italian parsley leaves
·                     salt and fresh pepper
·                     1 medium zucchini, chopped
·                     2 cups chopped fresh or frozen (defrosted) spinach
·                     2 cups of small pasta

In a crock pot, combine broth, tomatoes,  beans, carrots, celery, onion, garlic, herbs, Parmesan cheese rind, salt and pepper. Cover and cook on low for 6 to 8 hours.

Forty minutes before the soup is done cooking, add zucchini, pasta, and spinach.  Remove bay leaves, rosemary sprig, parmesan rind and season to taste with salt and black pepper.


It was such a welcoming aroma to come home and smell this soup bubbling away!!

Saturday, August 13, 2011

Homemade Salsa

We live in California and eat a ton of Mexican food. I love salsa but had a hard time finding a store bought brand that tasted fresh like the salsa at our favorite restaurant. After lots of research and practice I finally got the recipe right!

Ingredients:
3 roma tomatoes
4 green onions
1 jalapeno pepper
3 cloves of garlic
1/4 cup of cilantro
Juice of 1/2 a lemon
Salt

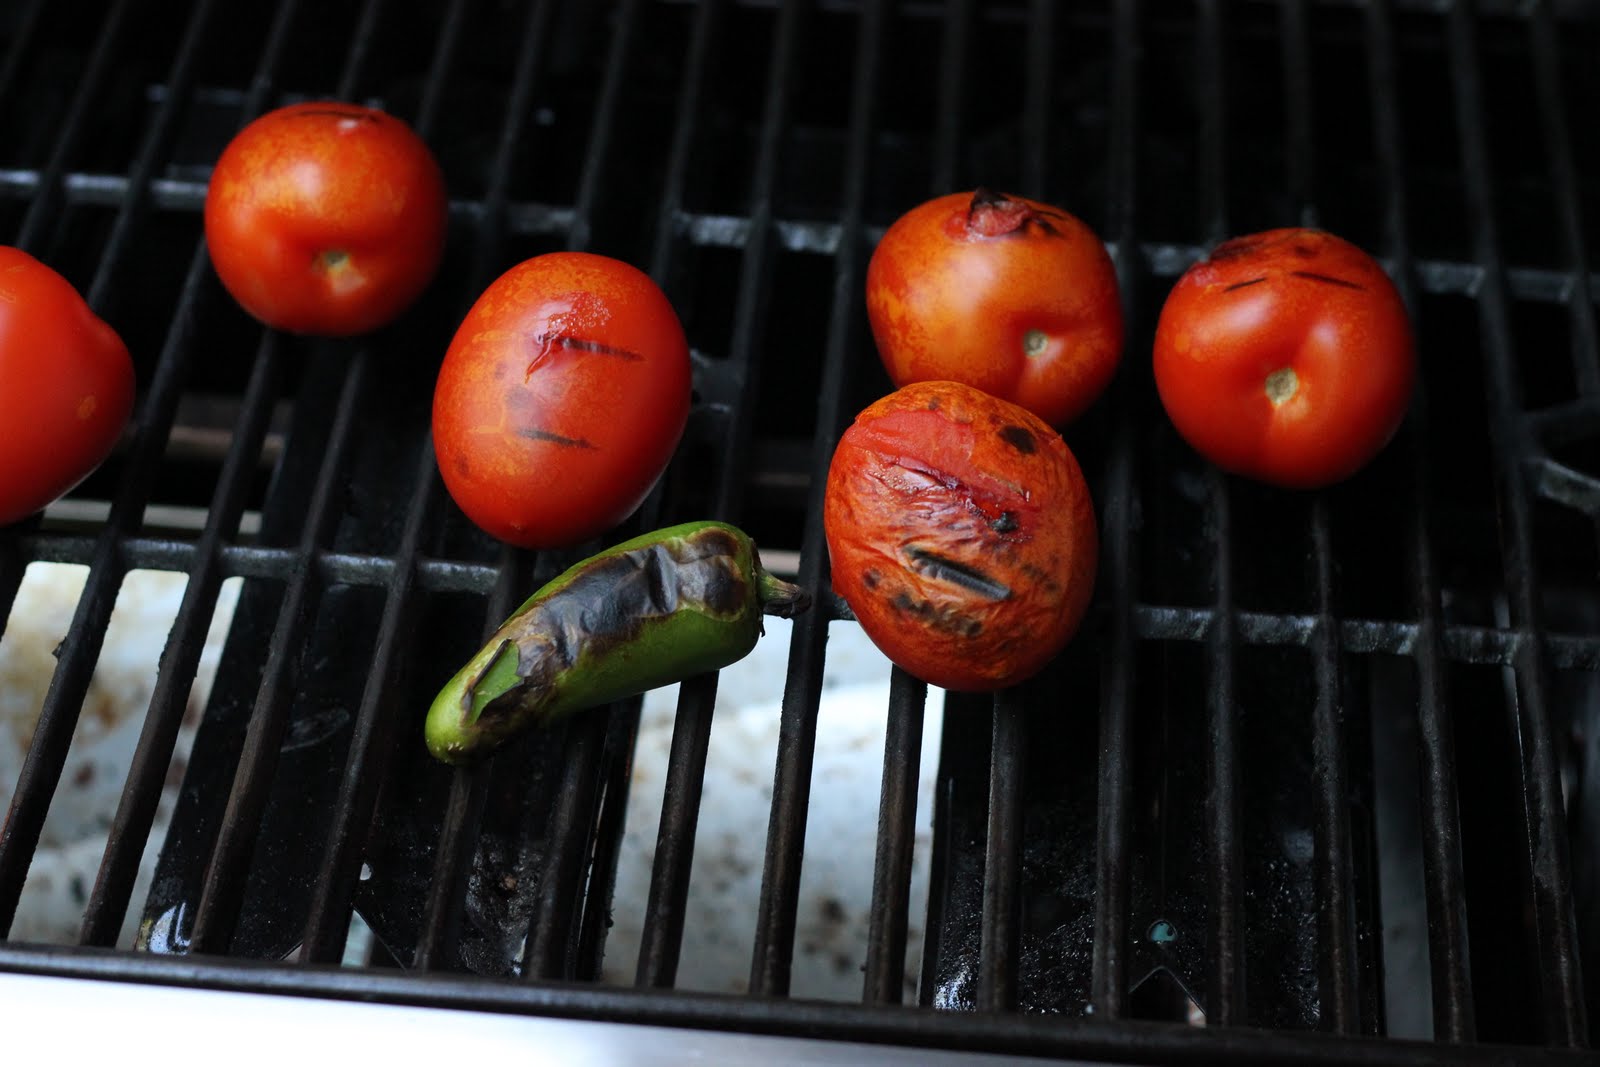
Today I'm making salsa to take to a pool party so I am tripling my recipe. I start out by wiping all the vegetables with a damp cloth and placing them on a pre-heated grill on a medium-high heat. I only use 2 cloves of garlic for the recipe but I always throw an extra one on the grill just in case one slips through the grates.

After about 7 mins, flip the vegetables over and continue to roast for about 7 more mins.
After grilling the veggies for a total of about 15-20 mins, I set them aside for about 15 mins until they are cool enough to handle.
Cut the tips off of four green onions and two cloves of garlic. Place them into a food processor equipped with a chopping blade or a blender.


Depending on your tolerance to heat, you can remove some spice by deveining and seeding the roasted jalapeno. To do this, cut the top off the jalapeno and make a horizontal cut. Open up the jalapeno and  use a knife to scrap the veins and seeds out of the pepper. Place the pepper into the food processor and mince with the onion and garlic.

Next add the tomaotes, cilantro, lemon juice and about a 1/4 tsp of salt (more can be added to taste) and puree in the food processor.
This tasty salsa will keep in the fridge for about 2 week in a sealed container.

As a side note, this salsa pairs perfectly with a warm summer evening and a margarita!!


Saturday, July 16, 2011

Monogrammed Wall Art

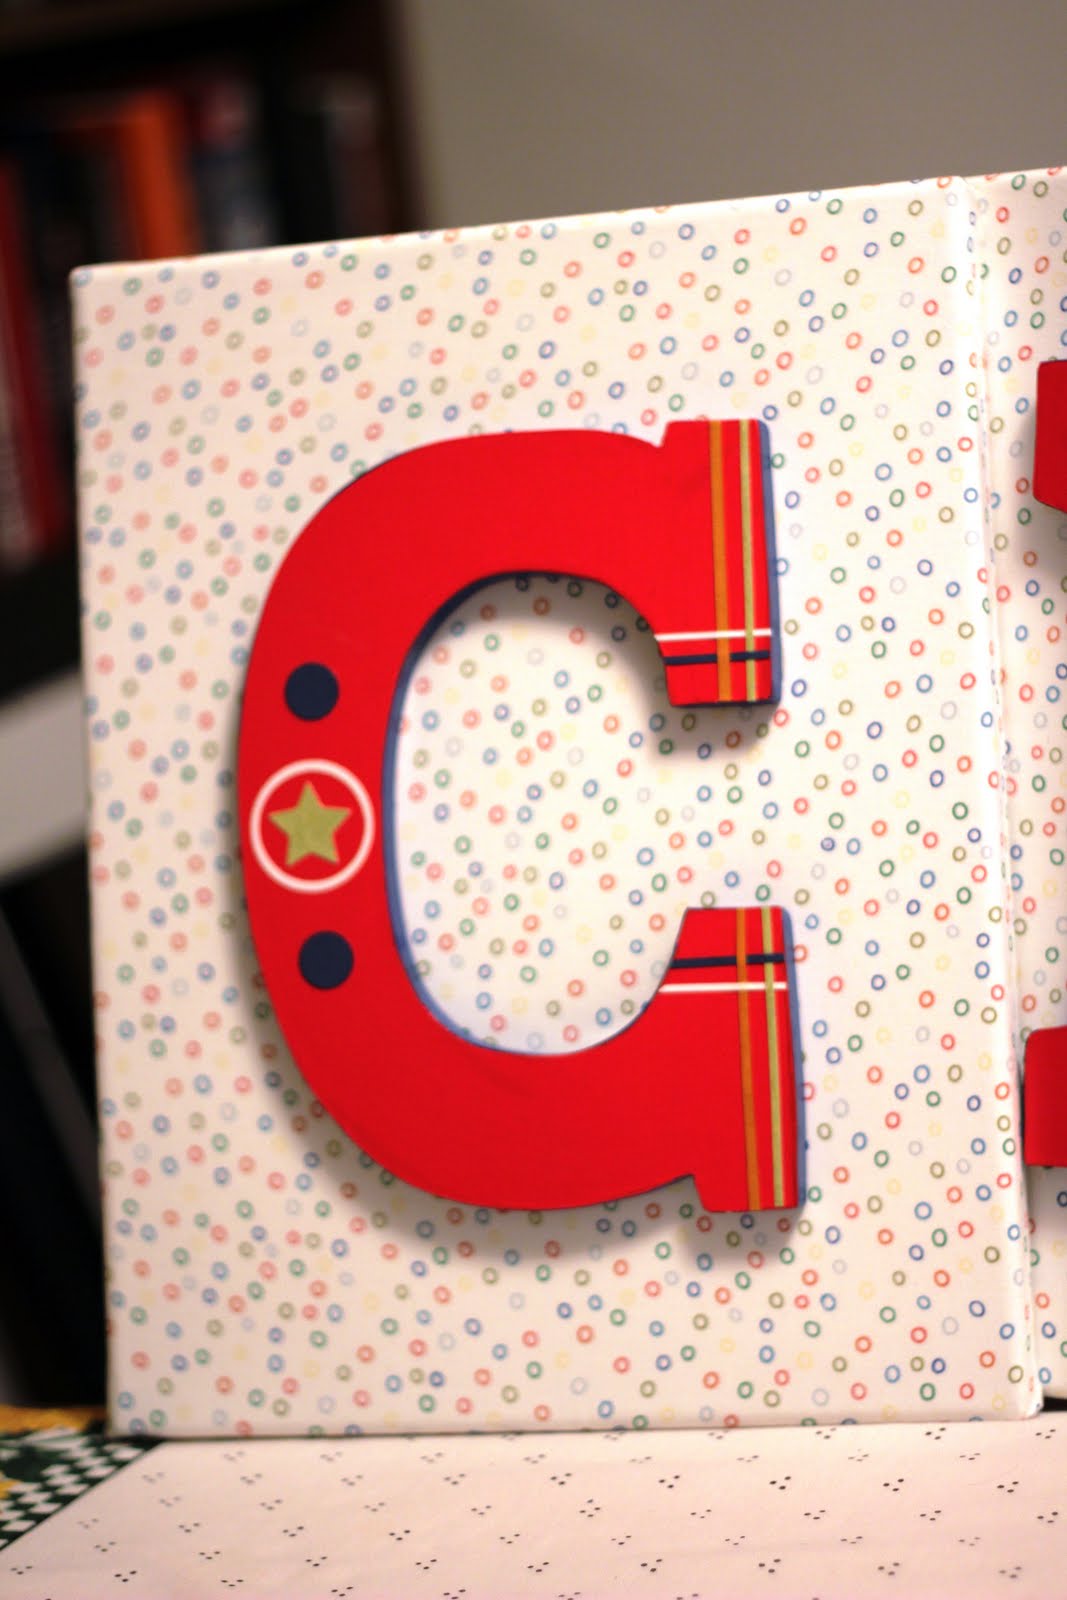
I made these monogrammed canvas's as a birthday gift for Chase to hang on his bedroom wall. He had just turned 3, so I really wasn't sure if I would appreciate or even like the gift. Boy, was I wrong!! He was so excited! He was ready to go and hang them up right then and there!
I really enjoyed working on this project. It was pretty easy but did take a couple of days to complete.

Tools Needed:
Canvas
Fabric
Staple gun
Paint
Paint brush
Paper
Adhesives
Mod Podge

I started by ironing the fabric and laying it face down. Then I laid the canvas on top of the fabric and cut around it leaving about 1.5 inches of overhang on all sides of the canvas. To secure the fabric, I used a staple gun and stapled the fabric to the back of the frame making sure to keep it pulled tightly.

I bought white wooden letters from Michael's and then I painted them using acrylic paints. As a warning the red paint took about 8 coats!! I let the letters dry over night before starting to embellish them.

I used a Cricut to cut out the circles and stars and I also cut coordinating strips of paper to make the "plaid" embellishment. I used regular craft glue to adhere the cardstock to the wood. After letting the letters dry for a couple of hours, I sealed everything in using Mod Podge and let them dry overnight.

To adhere the wooden letters to the fabric covered canvas, I used industrial strength adhesive that I purchased from the hardware store. The package listed wood and fabric and a 900 lb weight limit. It felt like the letters were pretty sturdy after letting them dry over night. My project was finally complete!!

The stars were a big hit with Chase, who likes to reffer to himself as Super Chase!

Sunday, June 26, 2011

Peanut Butter Mousse Brownie Pie

My father-in-law is a huge fan of peanut butter and chocolate so for our Father's Day celebration I wanted to make something that I knew he would LOVE!


Peanut Butter Mousse Brownie Pie
Recipe by Paula Deen


Ingredients:
1 refrigerated pie crust
1 box chewy fudge brownie mix
1 (8 oz) package of cream cheese, softened
1/4 cup creamy peanut butter
1/2 cup confectioners' sugar
2 cups thawed whipped topping


Directions:
Preheat oven to 450 degrees
Following the directions on the pie crust package place the un-baked crust into a 9" pie pan.
In a large bowl, prepare brownie mix according to package directions.
Pour mix into the un-baked pie crust and bake for 30-35 mins. Let cool for 20 mins before refrigerating for at least an hour. 
In a medium bowl, beat peanut butter and cream cheese on a medium speed until creamy. Gradually, add in confectioners' sugar until well  combined. Stir in whipped topping. Spoon mixture over brownie and refrigerated for at least 4 hours up to 3 days. 


Baker's notes:

  • The edge of my pie crust was almost burnt so I would suggest checking it and covering the edge with aluminum foil to avoid this from happening. 
  • Honestly, I felt that the pie crust didn't add much to the recipe and next time I'm going to just ice brownies or brownie bites with this delicious peanut butter frosting. 
  • I used low-fat cream cheese and whipped topping 
  • Topping suggestions: chocolate curls, mini reeses or large reeses cut in half or ground peanuts. 

Monday, June 13, 2011

Little Lady Party

Here's another super cute party idea!! Rylie celebrated her first birthday a couple weeks ago and her mom went all out with the theme! 
The invites were little ladybugs! The invites were made with a red and black oval cut using a Cricut. The head and spots were made with circle punches. Finally, the wings were affixed with brads so when they opened they revealed the party information. 
To welcome guests a birthday banner was made using a Cricut and hung in the entryway. 
Ladybug Rylie was dressed in a adorable outfit purchased from Etsy. She was beyond precious in her onesie and tutu! 
The ladybug theme was also carried through the food. A trifel dish held watermelon balls mixed with blackberry spots. All the drinking glasses were spotted. And the ladybug crackers were made with cream cheese, tomato & olive's. 

The smash cake by baking the batter in a Pyrex bowl and icing the cake like a ladybug.  Oreo cookies were used for the spots. There were plenty of  spotted cupcakes for all the guests to enjoy. 
I almost lost my mind when I saw this beautiful highchair cover and matching bib that my friend made!!! I love all the details but this was by far my favorite!! She really never ceases to amaze me!
Favors boxes were filled with gummy bugs and Hershey Kisses. The labels said "Bugs and Kisses, from Rylie". The kids were also given spotted favor bags finished with tulle bows. 
Another wonderful party and a very happy birthday girl!!!


Enjoy!

Monday, May 30, 2011

French Toast Casserole

This is a way to get all the flavor of French toast without standing at the stove!
Recipe from allrecipes.com

Ingredients:
  • 5 cups bread cubes (I used a loaf of french bread from the bakery at grocery store)
  • 4 eggs
  • 1 1/2 cups milk
  • 1/4 cup white sugar, divided
  • 1/4 teaspoon salt
  • 1 teaspoon vanilla extract
  • 1 tablespoon margarine, softened
  • 1 teaspoon ground cinnamon


Directions:
  • Preheat oven to 350 degrees F (175 degrees C). Lightly butter an 8x8 inch baking pan. 
  • Line bottom of pan with bread cubes. In a large bowl, beat together eggs, milk, 2 tablespoons sugar, salt and vanilla. pour egg mixture over bread. Dot with margarine; let stand for 10 minutes
  • Combine remaining 2 tablespoons sugar with 1 teaspoon cinnamon and sprinkle over the top. Bake in preheated oven about 45 to 50 minutes, until top is golden.

Monday, May 9, 2011

Teacup Bird Feeder

This year for Mother's Day, I "craft-lifted" (to steal craft ideas) for a teacup bird feeder gift idea from my friend Andrea's blog. She has some great ideas and recipes!


My Mother-in-law has a beautiful backyard and is always feeding the birdies, so when I saw this teacup bird feeder I immediately thought of her.

Tools Needed:

  • Teacup & saucer (I didn't find any cute cups at goodwill so I went to a antique shop)
  • Teaspoon
  • Sandpaper
  • Goop (found at most hardware stores)
  • 1/2 pipe to hammer into the ground as a stand
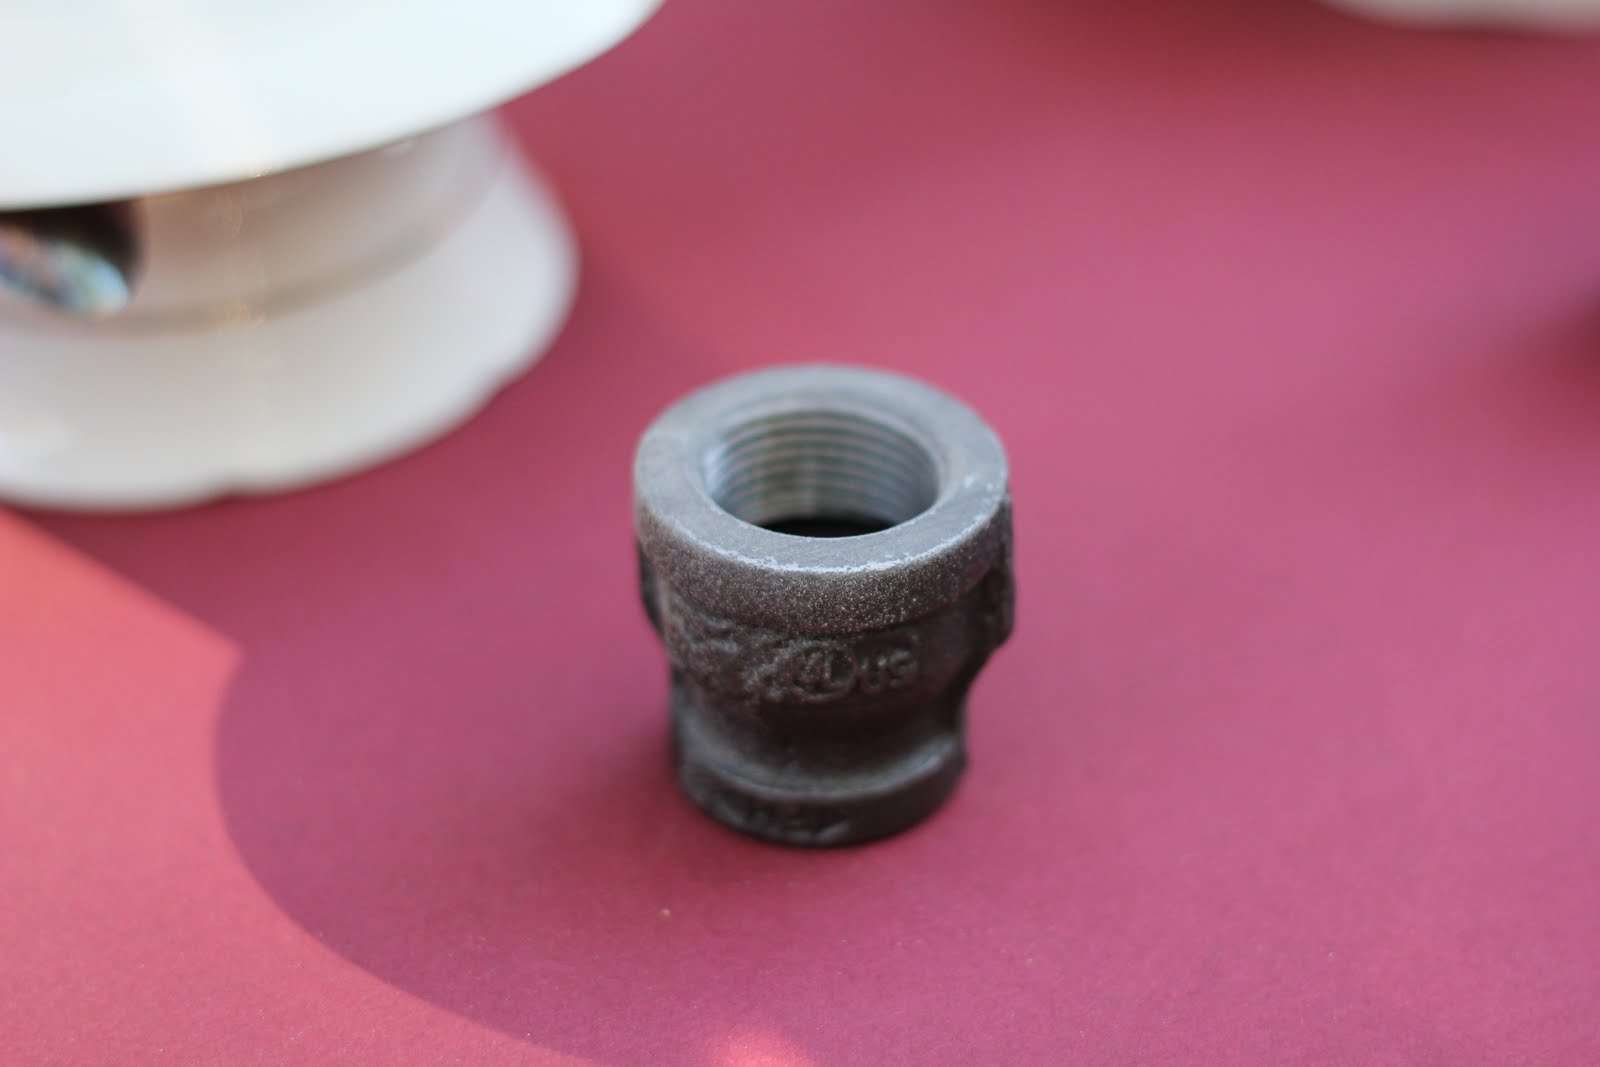
  • 3/4 inch to 1/2 inch fitting (the 3/4 inch side glues to cup, 1/2 inch side screws into pipe)

Step 1 - Sand cup & saucer, apply Goop to bottom of cup and adhere to saucer. Apply Goop to spoon and adhere to saucer Let the adhesive cure for 24 hours.

Step 2 - After Goop has cured, sand the bottom of the saucer and the top of the fitting. Apply Goop to fitting and adhere to saucer. Let adhesive cure for 24 hours.


Now your ready to gift your teacup!! I filled mine with bird seed that I wrapped in tulle. I also attached a tag that I tried to copy from a teabag. 


All that is left to do, is to hammer the rod into the ground and screw on the teacup!


Enjoy!